

Artwork and colours
Provide the final dimensions and colour references. Each colour is prepared as a separate stencil layer. Check small letters and gaps at the intended print size; how well the ink covers the cup colour also affects the result.
Screen printing applies ink through a mesh stencil to create solid-colour logos on drinkware. Share your cup and artwork with BG Drinkware to check the surface, print area and sample needs.

Start with solid shapes or lettering, a defined print position and a cup surface that can be trialled with the proposed ink. Fine detail, closely aligned colours and shaped bodies need additional checks.
Provide the final dimensions and colour references. Each colour is prepared as a separate stencil layer. Check small letters and gaps at the intended print size; how well the ink covers the cup colour also affects the result.
Identify the material, coating and shape. Taper, handles or changes in diameter may restrict coverage. Mark the logo position from the rim or base and its orientation relative to the assembled lid or handle.
Screen printing works on bare stainless steel as well as on powder-coated and spray-painted bodies. It starts at about USD 0.035 per piece, depending on the logo design.
For photographic artwork or gradients, compare screen printing, laser engraving and sublimation using the same design and cup finish.
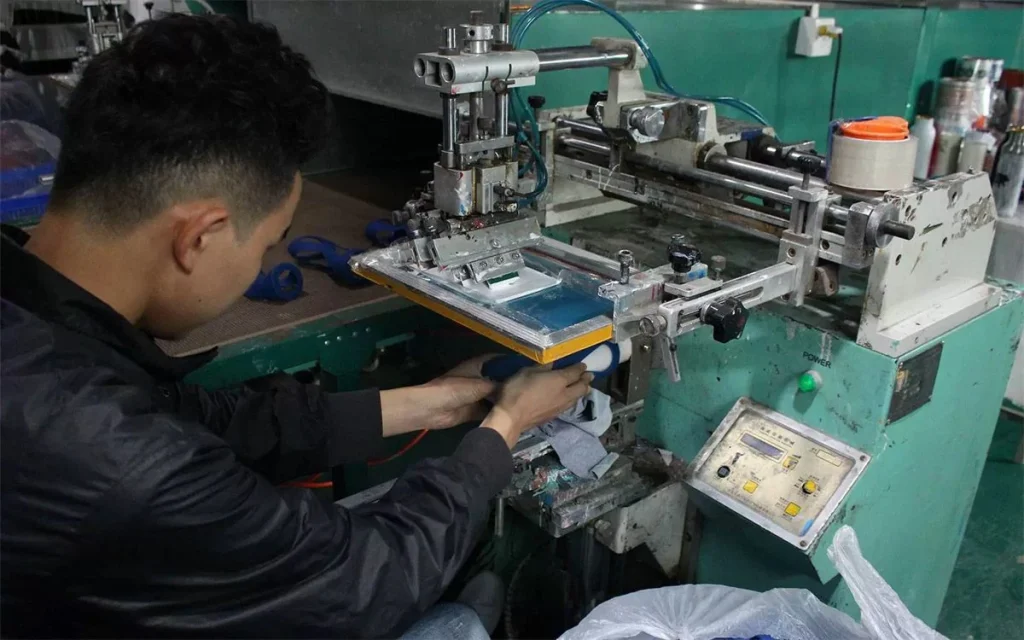
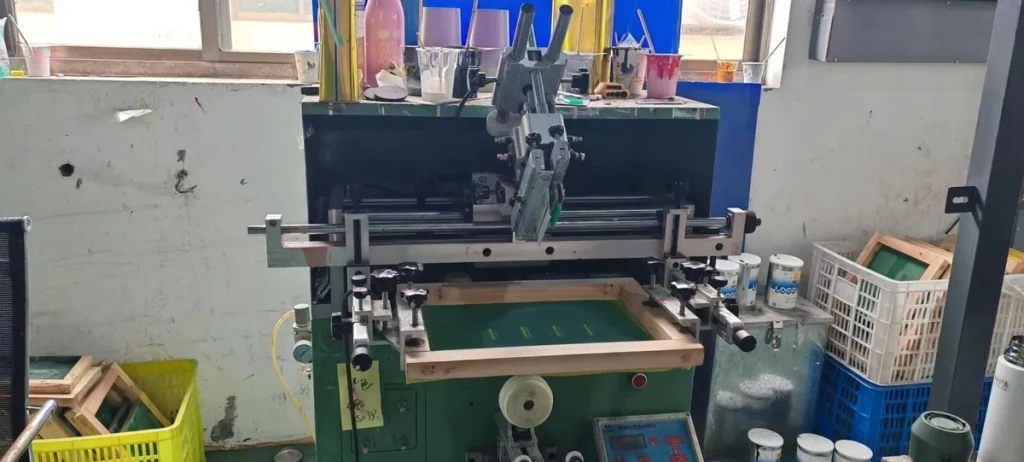
A squeegee—a blade that moves ink across the screen—pushes ink through the stencil. A fixture holds the cup in a defined position. For multiple colours, registration means keeping the colour layers aligned to a consistent reference on the cup.


Marabu's screen-ink guidance explains that additives can affect adhesion and abrasion resistance. Nazdar's 4300 container-ink technical sheet calls for trials using the intended ink, substrate, screen, press and curing combination.
These are manufacturer references for the testing principle. Nazdar 4300 is described for plastic containers; neither source identifies the ink used in the BG Drinkware photos or supplies acceptance limits for your cup.
UV light can cure some screen inks. This does not make screen printing the same process as digital UV inkjet; see the process distinction.
This bottle photo was supplied by BG Drinkware for this page and identified as a screen-printed logo example. It shows larger white lettering with a smaller line beneath it on the blue exterior.
For a similar design, check both text sizes at the final dimensions and inspect the ink coverage under consistent lighting. A physical sample is needed to judge small edges and surface feel.
White lettering screen printed on a blue bottle.
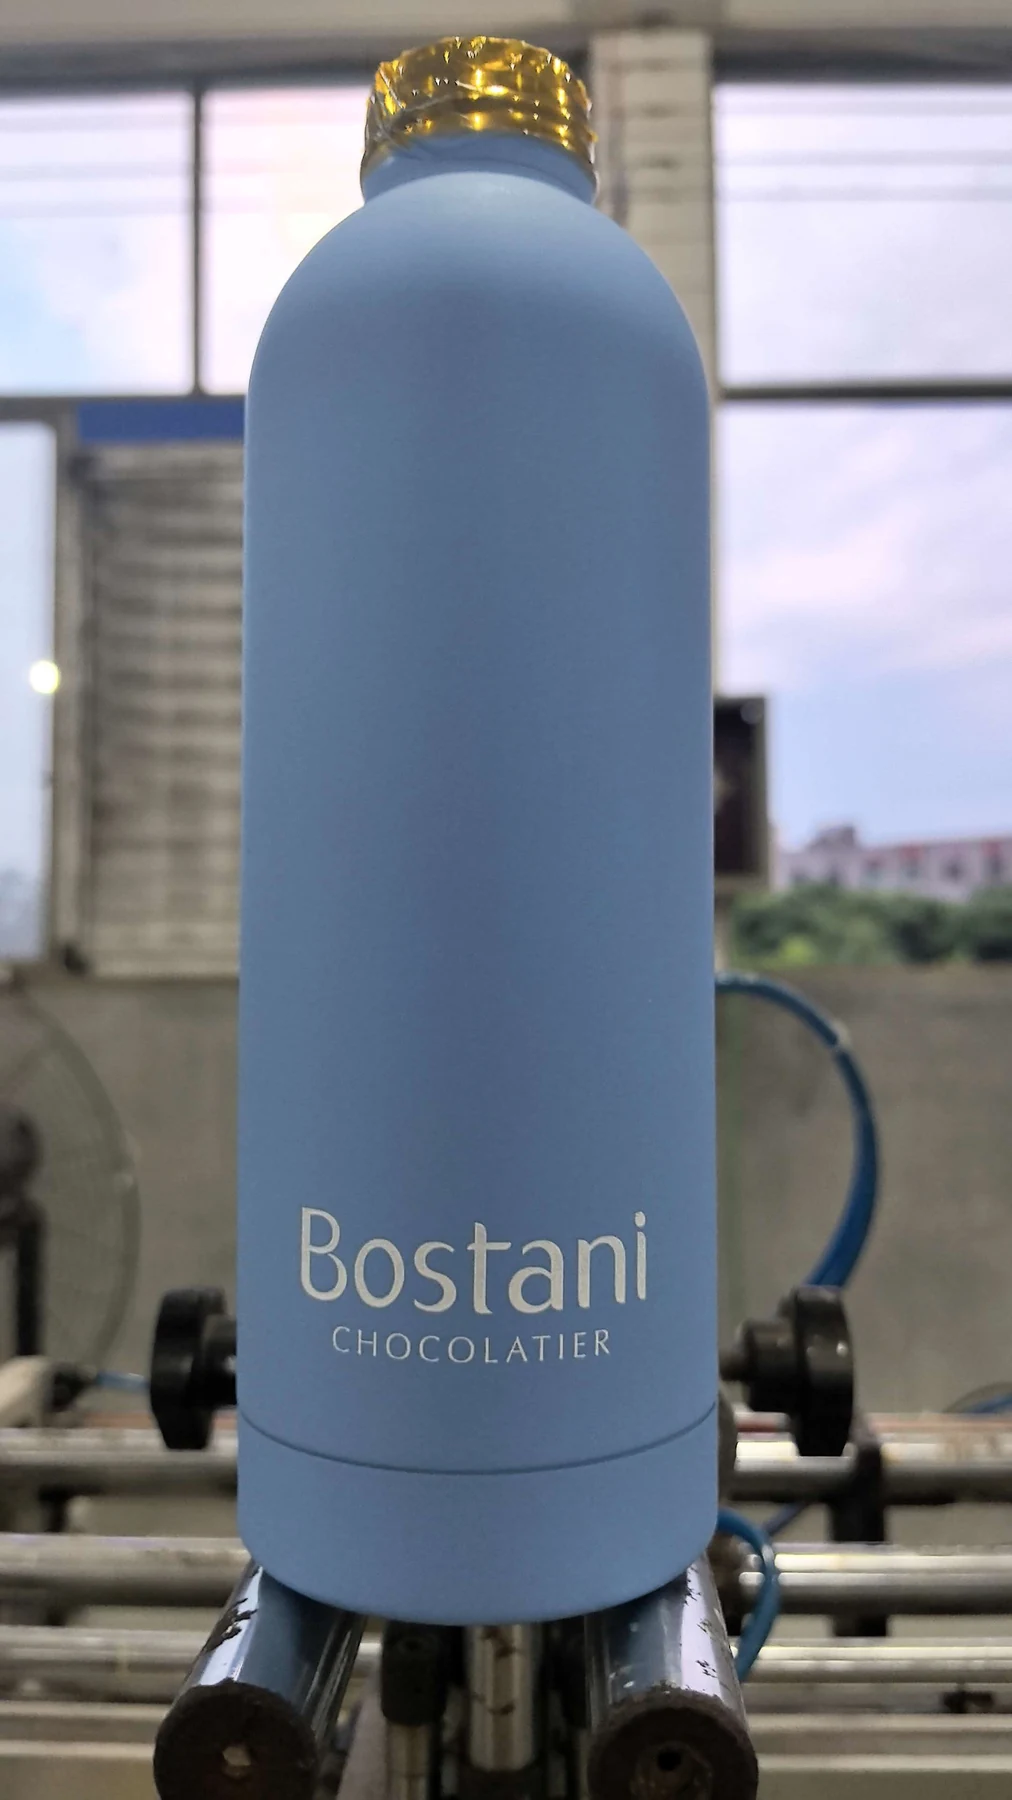
The sample is checked for print position, colour, sharp edges and full coverage. Cross-cut and dishwasher tests can be run on request. A sample of an existing model takes up to 7 days.
| Check | What to compare | What is checked |
|---|---|---|
| Artwork and position | Text, print dimensions and distance from fixed cup features | Artwork revision and a dimensioned position drawing |
| Colour and coverage | Colour reference, letter edges and tiny unprinted gaps | Reference sample and viewing conditions |
| Registration | Alignment between colour layers | The design's agreed positioning tolerance and observed result |
| Adhesion and rubbing | Finished print after the ink supplier's curing procedure | Sample ID, test method, conditions, result and agreed acceptance criteria |
| Cleaning and packing | Required cleaning routine and contact with packaging | Checks performed, results and agreed care instructions |

The approved sample is the reference for bulk production, which takes 7–12 days after approval, and for any repeat order.
Bulk orders are inspected to ISO 2859-1, general inspection level II, AQL 2.5 for major and 4.0 for minor defects. See sampling and quality control.
Compare the artwork, required surface and sample decision for each method.
Send BG Drinkware the following brief. Mark unknown items as “not yet selected” so they can be discussed before sample preparation.
Start with your clearest logo image, a rough placement sketch and a reference cup photo or capacity requirement. Ask what artwork preparation and cup information are needed; a small image alone is not a print-ready file.
Ask your BG Drinkware contact to confirm the proposed cup and print method, unresolved details and any artwork preparation needed.
Ask for a position drawing and confirm the colour reference before the sample is made.
Before authorising sample work, confirm its cost, schedule and deliverables. Review the bulk quotation's quantity, packaging and delivery terms separately.
These are the confirmation items to request for your order. Exact deliverables and timing must be agreed in the project quotation.
For guide prices per piece, see custom drinkware costs.
Yes. Screen printing works on powder-coated tumblers and on bare steel. The ink is trialled on your coating colour, and a cross-cut adhesion test can be run on the sample on request.
The usable colour count depends on the design, cup shape and printing setup. Send the artwork at final size with colour references. Ask the supplier to confirm the number of stencil layers, achievable alignment and any simplification needed. Approve a sample showing the actual colours and smallest details before accepting the design for production.
Screen printing and digital UV printing use different ink-transfer processes. Screen printing uses a mesh stencil; digital UV printing uses printheads. Some screen inks also cure under UV light. Ask the supplier to name both the transfer method and the curing system when a quotation uses “UV printing”.
Not automatically. Stainless steel and its coatings can generally go in the dishwasher, but print durability depends on the ink and the surface, so a dishwasher test on the finished cup can be run on request.
MOQ and lead time require a quotation for the selected cup, artwork and quantity per design. Include the cup finish, colours, packaging, destination and delivery target. Ask for sample preparation and bulk production timing separately, including when each period starts and any shipping assumptions. Use the written quotation to confirm the minimum order and schedule.
Begin with a clear logo image, reference cup photo or capacity requirement, approximate print size and quantity. Mark undecided details. Use the enquiry checklist to request the missing file and cup requirements before committing to print preparation.
Send the cup model, artwork, colours, logo position, quantity, packaging, payment terms and trade terms.
Leave undecided details blank. Copy the brief into your enquiry; nothing is sent from this form.
Page updated . Manufacturer references explain general process principles; the supplied bottle photo documents the example shown.
Search BG Drinkware
Add us on WeChat
WeChat ID: +86 151 5891 9004
Open WeChat, tap + then Scan, and point it at the code.