Shaker bottle accessory packing checklist: keep each retail set complete
A shaker bottle accessory packing checklist should identify every part in one retail set, its approved quantity, and its packing position for the selected model. It should distinguish fitted components from loose items, separate variants, and define the next action when an opened sample box differs from the approved set.
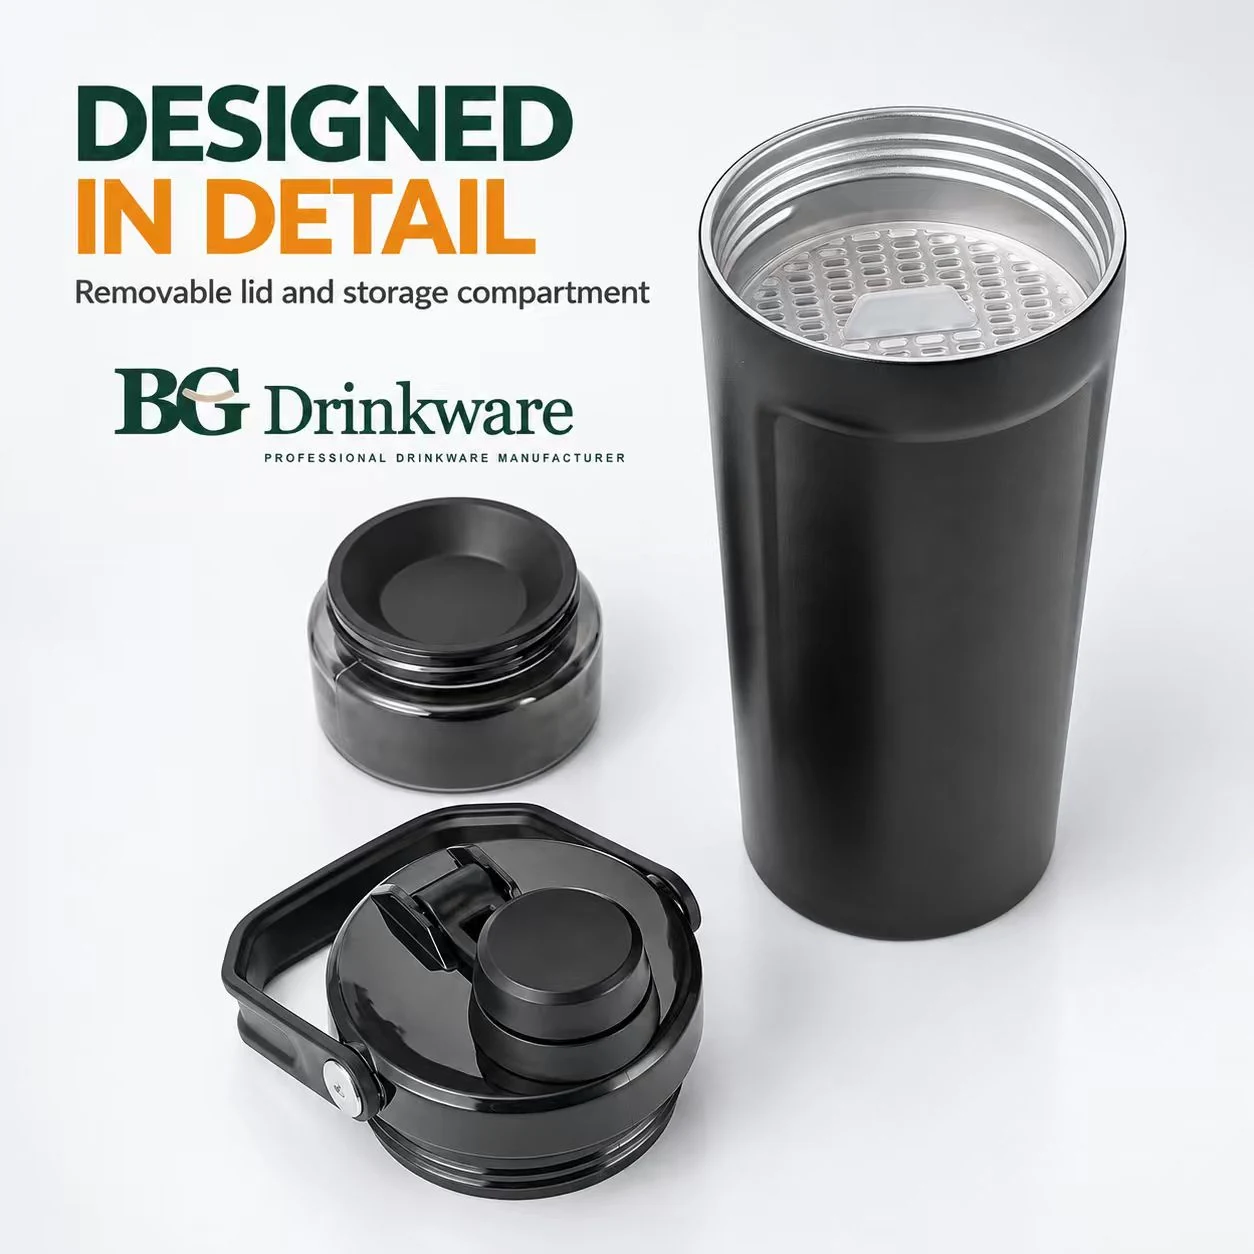
A shaker bottle accessory packing checklist should define one complete retail set for the selected model: every part, its approved quantity and whether it arrives fitted or loose in a named position. Build a bill of materials for each sellable SKU covering the bottle body, lid assembly, mixing ball with its approved diameter, storage compartment, other accessories and printed items, then align it with the pack artwork. Give each variant its own checklist, separate similar parts in SKU-labelled bins and freeze a revision for the order. When sample boxes are opened, record the SKU and checklist revision, photograph the contents and check each BOM line. If a set is wrong, hold the potentially affected sets until the scope is clear. BG Drinkware, a drinkware manufacturer in Yongkang, China, can change to a customer-specified ball size, and the selected combination is confirmed on a sample before packing approval.
For brands and QA teams, the working reference is a complete, approved retail set with a written contents list. A carton total alone cannot show whether each customer will receive the correct combination of bottle, lid and any included accessories.
1. Define the contents of one retail set
Build a bill of materials, or BOM, for each sellable set. Name every included item separately, including small parts that arrive already fitted. A description such as “bottle with accessories” leaves the quantity, identity and location of those accessories open to interpretation.
Use the following fields when preparing the checklist. Include optional rows only when the selected model and order actually include those items.
| Item to identify | Required detail | Quantity and packing instruction |
|---|---|---|
| Bottle body | Model, capacity, color and retail SKU | Exact number per set; approved orientation |
| Lid assembly | Selected lid version and its fitted components | Exact number; fitted to bottle or separately placed |
| Mixing ball, if included | Part reference, design and approved diameter | Exact number; inside bottle or named separate location |
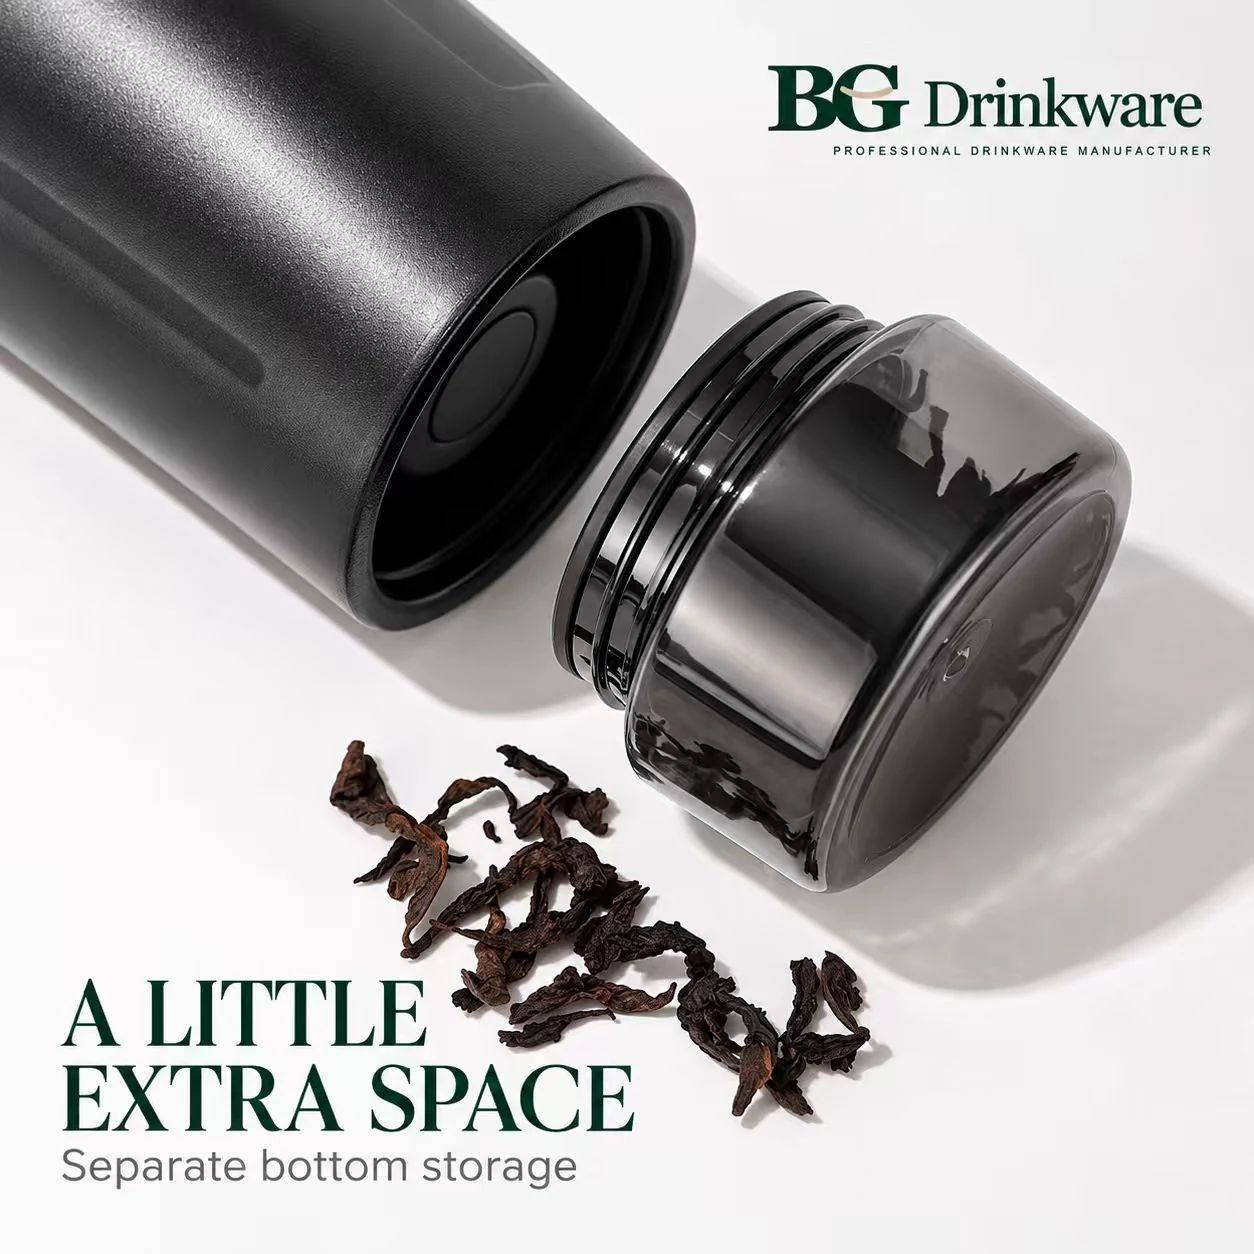
| Storage compartment, if included | Compatible compartment, its closure and part reference | Exact number; attached or separately placed |
| Other accessories, if included | Each named part and its identifying detail | Count each part; specify bag, insert cavity or other position |
| Printed items, if included | Item name, language and artwork revision | Count each item; specify its position in the retail pack |
Swipe or scroll to view the full table.
For a private label drinkware project, align this list with the pack artwork. Pictures and “what's included” text should describe the same approved set. Identify any pictured options that are excluded from that retail SKU before approving the artwork.
2. Lock the model, ball identity and assembly position
Confirm accessory compatibility for the chosen bottle model before approving its packing list. Similar-looking lids or storage compartments need their own part references and approved combinations. The stainless steel shaker bottle guide covers broader bottle selection; the packing checklist should carry forward the exact configuration selected for this order.
If a mixing ball is included, record its approved size alongside the part reference. “Mixing ball” alone does not distinguish the approved part from another diameter. Confirm the requested combination on the selected sample without assuming that a size change guarantees a particular mixing result.
Specify what arrives assembled and what arrives loose. A compartment attached beneath the bottle and the same compartment packed beside it create different inspection points. Fitted components can be less visible during an opening check; loose parts add locations that need counting. Choose the arrangement with the supplier and approve photos showing both the complete set and each loose-item position. Keep components that must remain fitted in their approved installed state.
Include the retail box and insert in your packaging requirements so that the agreed positions fit the actual set.
3. Keep variants separate during packing
Give every variant its own approved checklist, even when the only difference is a lid color or an included accessory. A shared sheet needs a clear variant matrix showing exactly which combination belongs to each SKU. Avoid instructions that require packers to infer the set from a product photograph alone.
Ask the supplier how parts for similar variants will be separated. Bin labels should carry the SKU or variant code and a written part description. Where practical, agree to pack one variant at a time, remove remaining parts before changing variants, and check the first completed set against the next checklist.
Freeze a revision for the order. If a buyer changes a ball diameter, compartment or printed item, update the affected BOM line and packing photo together. Identify which variants use the change and who approves the revised set. Keep the earlier instruction out of the active packing reference.
4. Open sample boxes and define the exception scope
Agree the sample-box selection and acceptance criteria with the supplier or inspector before the check. Specify which variants and packing stages it will cover. A hand-arranged approval set and a sample taken from packed goods serve different purposes; record where the inspected boxes came from.
For each selected retail box:
- Record its SKU and the checklist revision being used.
- Photograph the opening arrangement, then lay out the loose contents.
- Check part identity, quantity and fitted or separate position against every applicable BOM line.
- Compare included printed items with the approved version and contents description.
- Record discrepancies and restore the approved arrangement before closing the box.
If a mismatch appears, ask the supplier to hold the potentially affected sets while establishing the scope. Record the variant, component, packing stage and last confirmed correct check. An unclear boundary calls for checking other potentially affected sets before release. Correcting the opened sample alone cannot establish that the remaining goods contain the right parts.
The handoff record should include the approved BOM and photos, inspection selection, discrepancies, affected scope, correction instructions, recheck results and release decision. Name the people responsible for approval. Include these order-specific checks in your quality control requirements before packing begins.
5. Frequently asked questions
Brands and QA teams usually raise these questions while fixing the contents of a shaker bottle retail set and planning the sample check before packing.
Does every shaker bottle set need a mixing ball or storage compartment?
Include these items only when they belong to the selected model and approved order. State the exact quantity and packing position for each included accessory. Remove unused optional rows from the active checklist, and ensure the retail artwork describes the same contents. A family photograph showing several configurations should not define an individual SKU's contents.
How should a mixing-ball diameter appear on the checklist?
Record the approved diameter with a part reference and the bottle configuration it belongs to. Attach an identifying photo or drawing where useful. BG Drinkware can change to a customer-specified ball size, but the selected combination still needs sample confirmation. A packing check verifies that the agreed ball is present; mixing performance requires its own agreed evaluation.
What should buyers request after a sample box has missing or incorrect parts?
Request a written description of the discrepancy, the potentially affected sets and the proposed correction and recheck. Agree who can release those sets after the recheck. Keep the approved contents list and packing photos attached to the decision so that purchasing, QA and the supplier are working from the same revision.
What minimum quantity and timing apply to a shaker set order?
At BG Drinkware the standard MOQ is 500 pieces and negotiable, and some models can be ordered from 100 pieces per colour. A sample of an existing model takes up to 7 days, and bulk production takes 7–12 days after the sample is approved. Confirm each variant's minimum before splitting one order into several retail sets.
Send BG Drinkware your selected model and capacity, SKU list, per-set contents, requested ball diameter if applicable, and photos showing the intended arrangement. Include the retail box and printed-item requirements in your quote request to review which details need sample confirmation before packing approval.